Creepy Crayon: Free Craft Template!
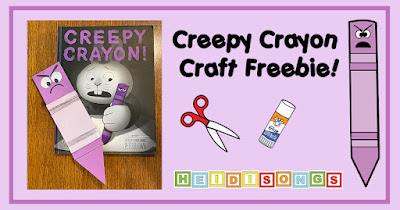
Have you heard the news? We've Moved to HeidiSongs.tv ! Our new website features an online video streaming service, updated blog posts at Heidisongs.blog , and a wealth of fresh resources designed to make learning even more fun and engaging. You can also continue shopping for our educational products there and at our Teachers Pay Teachers store ! Head over to HeidiSongs.tv now and explore all the exciting new features. See you there! Today, I am going to give you a link to our free Creepy Crayon craft that we made to accompany the book Creepy Crayon by Aaron Reynolds! Yay! If you are a fan of Creepy Carrots and A Creepy Pair of Underwear , then you were probably just as excited as I was for the next book in the series, Creepy Crayon ! And so by popular demand, we have have included the Creepy Crayon craft here as a free download! We have also included links to our other crafts for Aaron Reynold's creepy books, to...